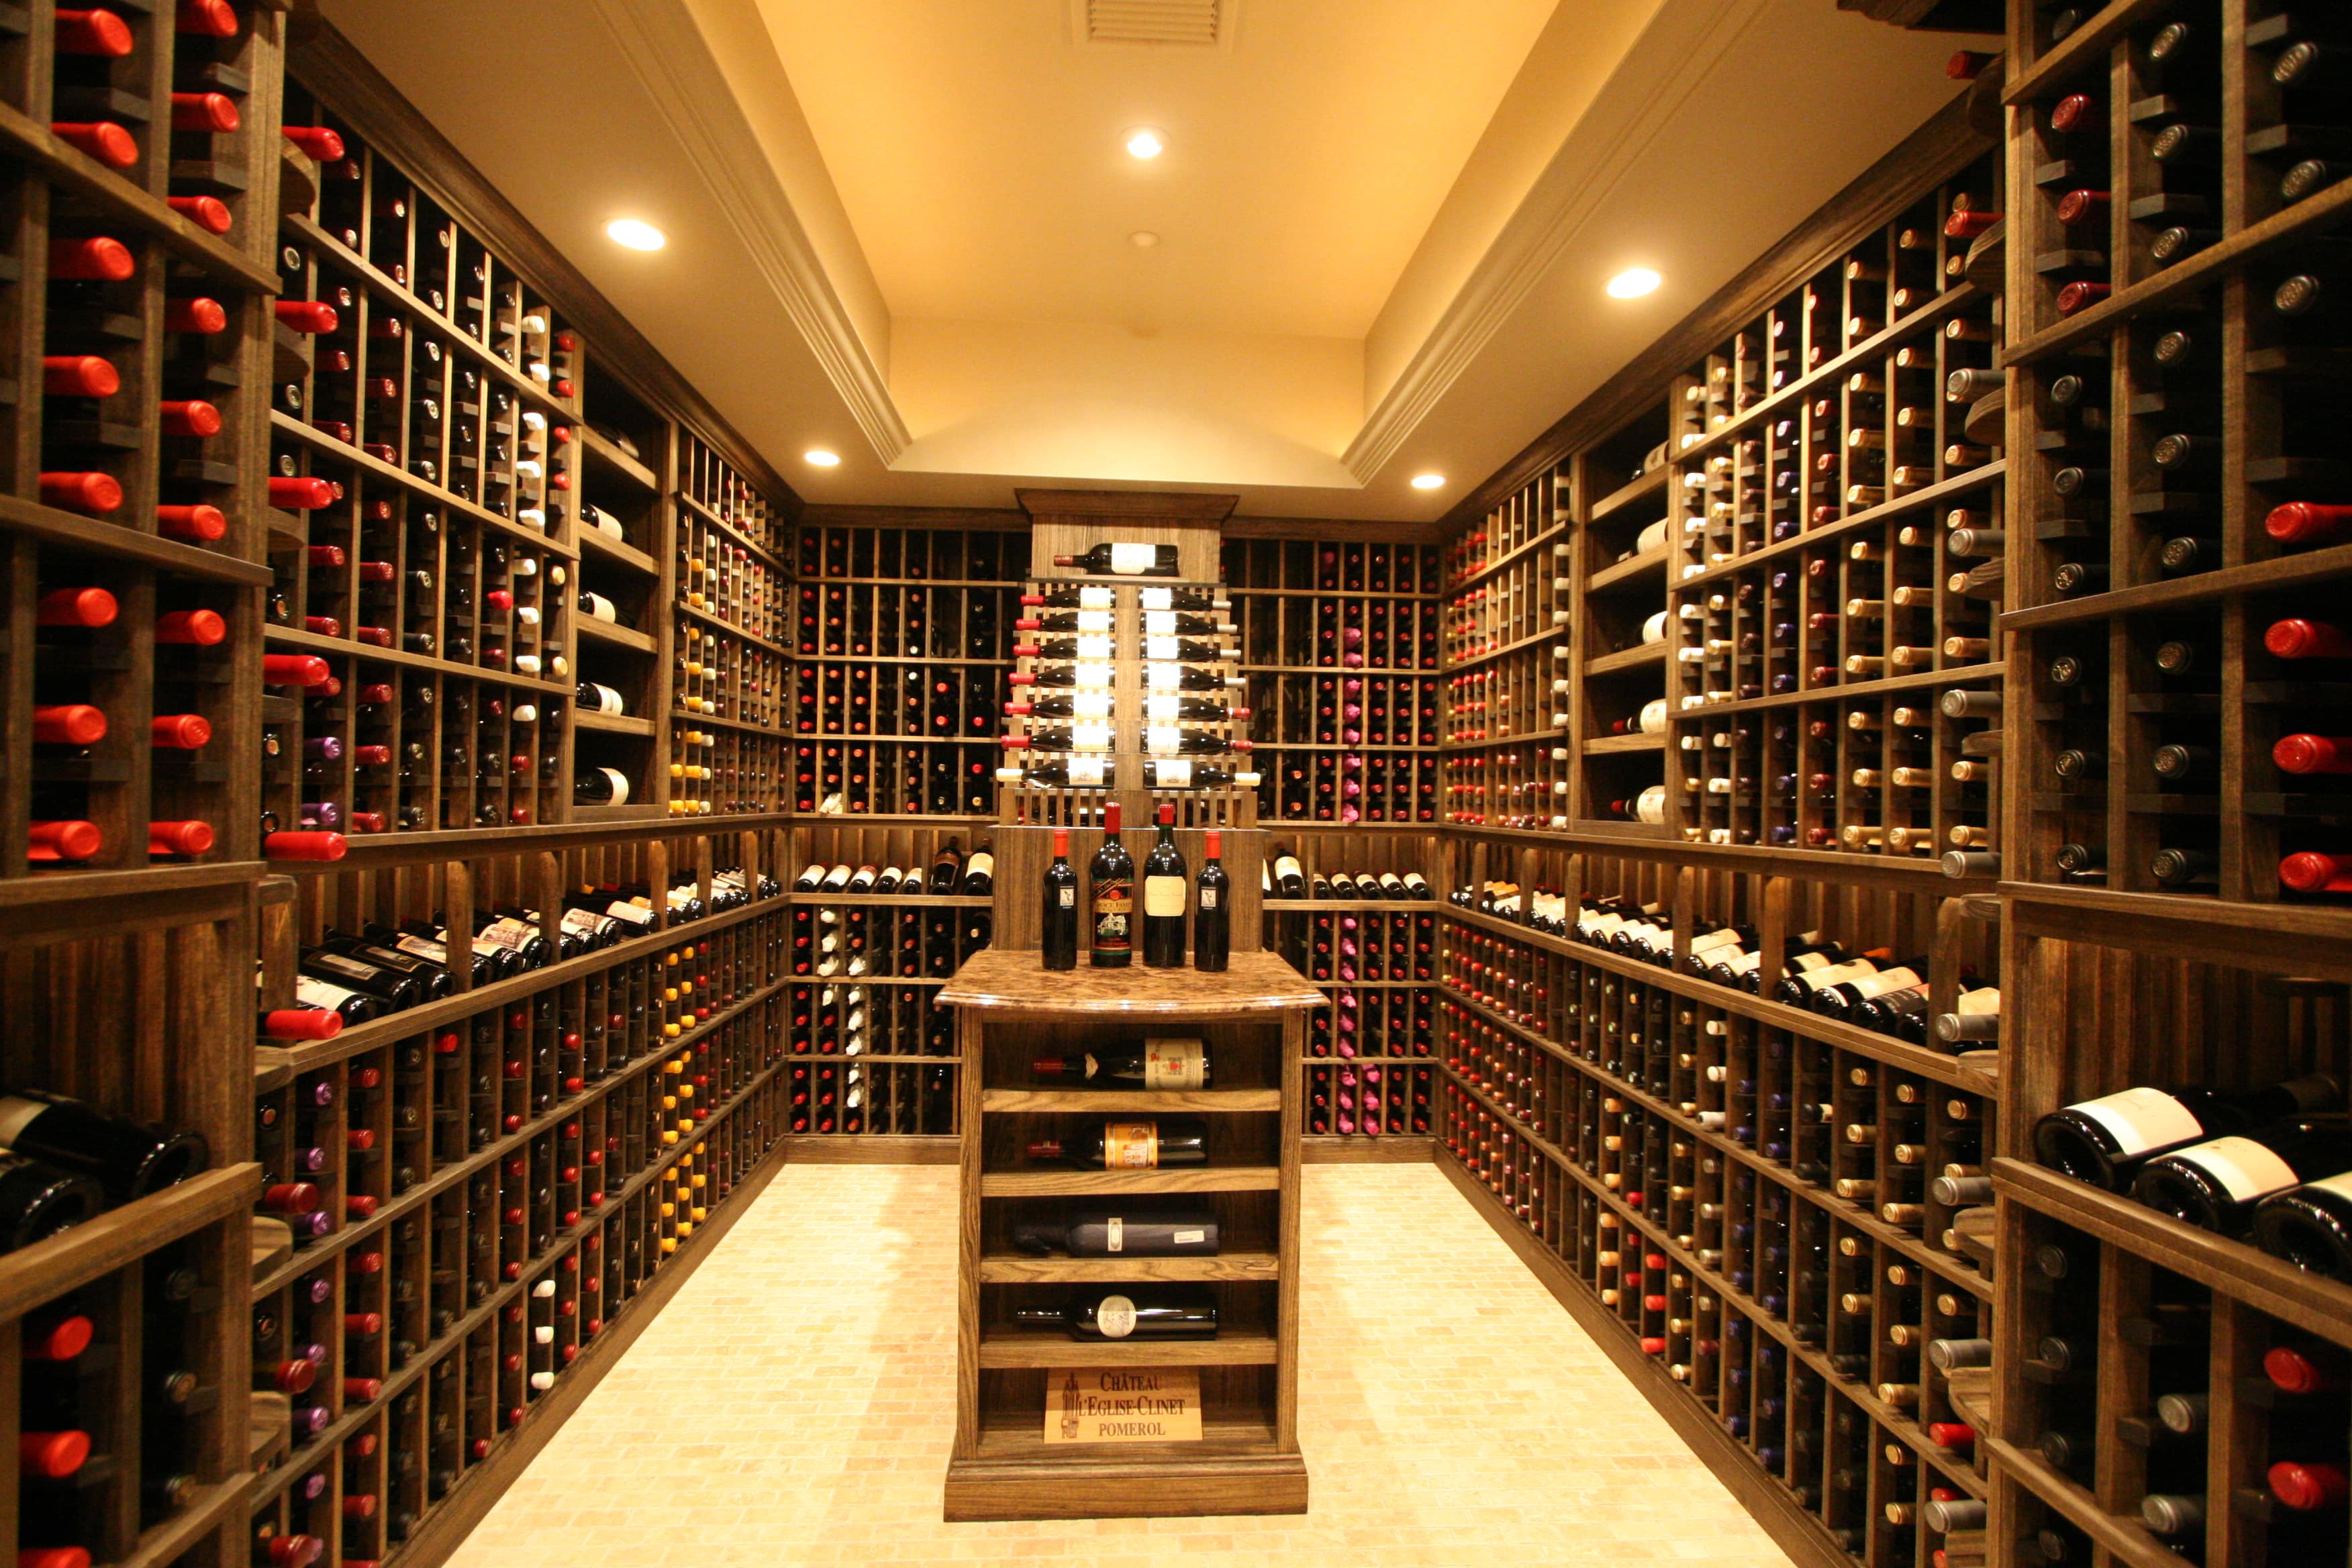
If you want a wine collection that matures as the winemaker intended, you need to build a cellar that enables it. The problem is that many wine connoisseurs don’t delve deeply enough into the insulation, technology, and construction essential in building a useful wine cellar. This could be because constructing a wine cellar appears overwhelming at first. But given the right insights and support, you can drive the construction of an envy-worthy wine cellar. All you have to do is consult an expert and do your due diligence early in the process to create a sound foundation.
This post delves into the process of building a wine cellar in the most organized and effective way possible. Are you prepared to receive precisely what you’re seeking? Let’s begin.
[insert_callout]
The importance of building a wine cellar the right way
An effective wine cellar is instrumental in maximizing the aging potential of your wine collection. For instance, if you acquire a nice Chateau blend that winemakers say will be drinkable for a decade, you may want to store this bottle such that it’s characters deepen over time. As such, you can’t store it just anywhere. You have to create a favorable environment. Proper wine storage requires the following conditions.
- 45 to 65 °F temperature to preserve flavor
- 50% to 80% humidity to keep corks moist and avoid mildew on the labels
- Sufficient ventilation to maintain a constant temperature if you’re not using an air conditioner
- Darkness to prevent UV rays from causing premature spoilage
- Horizontal storage to allow for most bottles in the least space and keeping corks moist
The main stages in building a wine cellar
There are nine major stages involved in making a wine cellar. Here they are listed in order, so you can get a sense of what is included in the process of building a wine cellar.
- Choosing the location of the wine cellar
- Installation of studs
- Setting-up of refrigeration
- Setting-up of insulation
- Installation of an electrical outlet
- Wall paint and decor
- Flooring and ceiling
- Setting-up a wine cellar door
- Lighting
On completion of these ten stages, you can initiate a wine cellar revision to ensure that everything is working in order and according to your plan.
A step by step process of how to build a wine cellar
Let’s explore each of the stages mentioned above in depth.
-
Choosing the location of the wine cellar
While you can select any position inside of your home, the position will determine the cost of maintaining the wine cellar. The ideal location should be the coolest and most humid part of your house, so it becomes easy to satisfy the temperature and humidity requirements.
-
Studs installation
Before stud installation, you have to seal the concrete in the walls. You also have to consider the vapor barrier during this step (discussed as part of step 4). As an alternative to the vapor barrier, you can choose to spray foam. Choose between the 2×4 and 2×6 construction. The 2×6 is typically to increase the insulation value and minimize energy consumption. Also, note that building a wine cellar needs a permit and for you to follow local, state, and national building codes.
The studs installation stage also requires you to pay attention to soffits. When building a soffit to overcome ducting, piping, or other obstructions, remember to place the lighting within the soffit far enough, so it doesn’t interfere with racking depth, ducting depth, or crown molding. The best approach is to inquire about the final thickness of your racking (including crown molding), so you can account for the size of the light fixture ring as well.
-
Setting-up of refrigeration
There are three parts to setting-up refrigeration for your wine cellar. You have to choose between a WineZone Air Handler and WineZone Ductless Split before installing a self-contained cooling unit.
Ducting will be necessary at this stage if you choose the WineZone Air Handler. The ducting will run to the air handler in a mechanical room, then to the condensation section. You will also have to consider the drain and electric lines at this point.
If you choose the WineZone Ductless Split, you will have to run the line set from the ductless split to the condenser. This is where you will have to consider drain and electric lines.
If the plan is to utilize a self-contained cooling unit, you will have to bore an adequately sized hole in the wall to support it. You will also have to account for an electrical outlet, a condenser unit, and a drain line.
-
Setting-up of insulation
The two conventional methods for insulation of a wine cellar are to spray foam, or 6 mil vapor barrier and fiberglass batts. As mentioned previously, if you are considering a vapor barrier, you have to seal the concrete in the walls during studs installation itself. Spraying foam is expensive, but it will prevent punctures in your vapor barrier that may be caused by screws, running wire, plumbing, etc.
When working with a six mil vapor barrier, you will not require foam. Just install the barrier on the back side of your studs before placing them into position. Ensure that you have an excess vapor barrier at the edges for overlapping of seams and tucking shut. Post-installation of the vapor barrier, you will need insulation in the stud and joist cavities. The most common one used is fiberglass.
-
Installation of an electrical outlet
The best location for an electrical outlet in your wine cellar is at the corner where there are dead space and your racks come together. Ensure that you aren’t violating building codes when setting-up an electrical outlet. The outlet doesn’t have to be close to your high reveal racking; you can use long cords to bridge the gap.
-
Wall paint and decor
It’s essential to choose humidity-resistant material when doing-up the walls and ceiling in your cellar. Typically, water-resistant drywall is used for the roofs. The drywall requires a good primer and water-based exterior color. As an alternative, you can work with tongue and groove material for the walls.
-
Flooring and ceiling
Again, ensure that the flooring you choose can withstand high humidity. You could experiment with porcelain tiles, cork, or hardwood flooring for more stylish flooring. It’s recommended to leave ½” space around the flooring, so you allow for room expansion. As an alternative to tongue and groove for ceilings, you could explore a raised panel ceiling and soffit.
-
Setting-up a wine cellar door
A wine cellar requires a particular kind of door. Ensure that you get an exterior grade door which is sealed on three sides with weather stripping material and the bottom with a door sweep and threshold. Avoid using an interior door. You could choose a glass door if it has a thermopane to prevent insulation and prevent condensation. Solid wooden doors are also worth considering.
-
Lighting
It is recommended that you use thermally fused can lights or “IC rated can” lights. Using UV lights is not preferred as there are concerns as to the damages it can cause long-term. Otherwise, there aren’t many limitations for the lights you can use in a wine cellar.


